
DIY edge finder
Contents

X/Y coordinates. I was kind of solving this problem to date by using a tapered tool which I would manually position above the workpiece corner the best I could, visually controlling its position with help of my phone’s camera zoom.
The problem#
This is relatively quick to setup and accuracy is high enough for most jobs. But it depends on the line of sight where even slight deviations create large errors so you have to be pretty thorough. When I started doing double-sided workpieces like this, I felt the accuracy just is not high enough anymore.
Solution#
I was discussing my problem with the machine manufacturer, thinking they might hint me towards buying an edge detector “3D finder” or similar product. But wrong I was! Instead, I was able to build an edge finder that did not cost me anything at all and in no time.
Method#
The build#
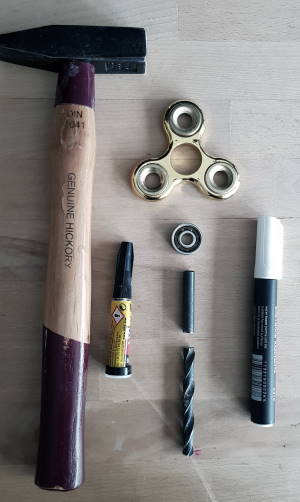
I was intrigued by that idea. As I don’t have access to a good hardware store that sells bearings and stuff nearby, I was searching the household. And voilà, my kids own a fidget spinner they didn’t use for a while. So I… snitched it. It contains a 22mm bearing with 8mm bore. Ok next - what should I use as a shaft?
Execution#
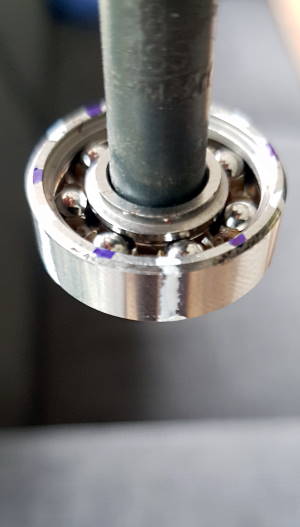
- Mount the edgefinder and jog the machine close to the workpiece you’d like to measure.
- Have the spindle turn at low RPM, e.g.
S500 - Optional: To keep things simple, switch to machine coordinates
- Make the machine move towards the workpiece, e.g. with command
G01 X5.0 F1 - Prepare to hit “routine stop” once the bearing stops turning
- Note down machine coordinates of where you stopped or set
G92offset to here - Repeat with other axes if required