Maker Faire Ruhr 2024
Preparation
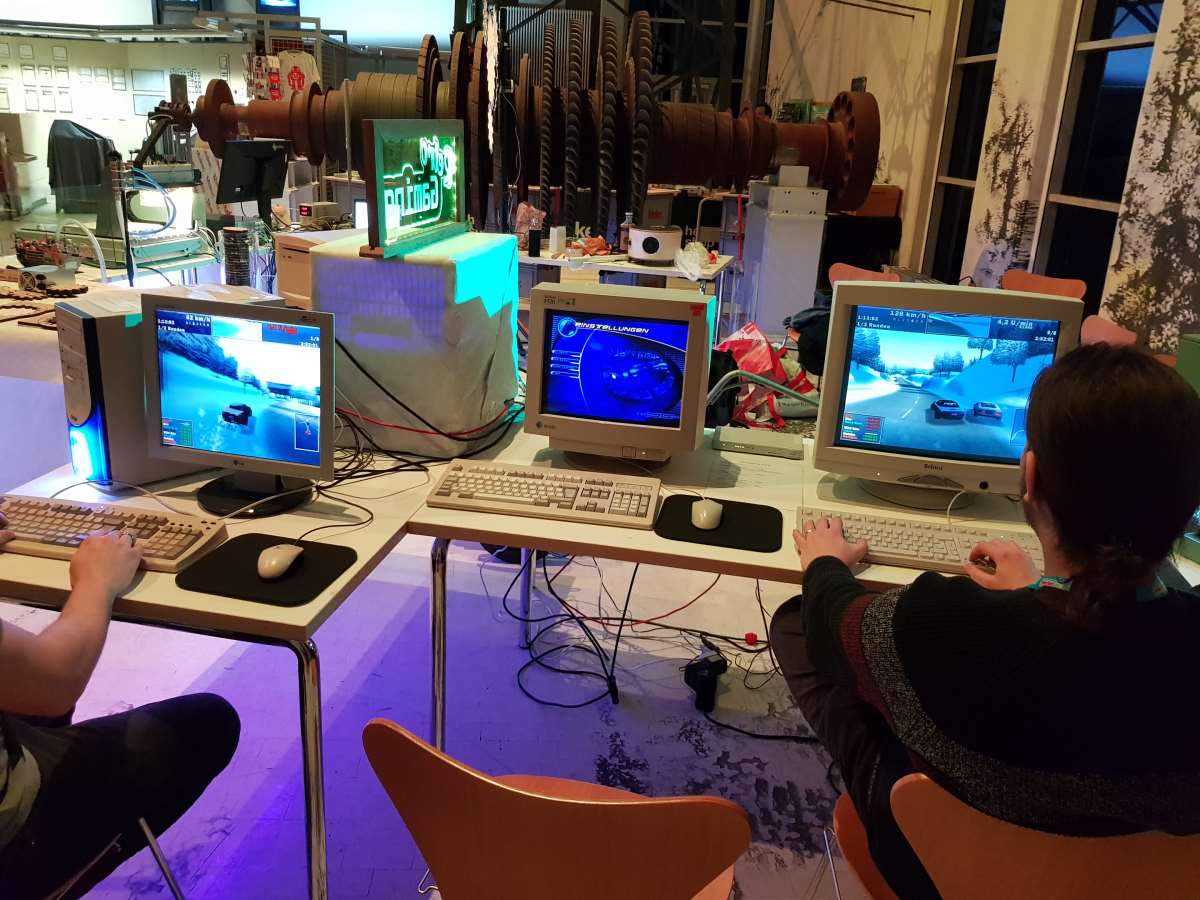
![]() Since the beginning of January, two of my friends and I have been preparing for the Maker Faire Ruhr at the DASA Dortmund. In the course of this, I veneered fiberboard, cut out blanks for engravings, procured tablecloths, machined PC housings, milled gear wheels, programmed LED strips, designed a stand sign, set up a CNC machine, optimized it for engraving and so on…
Since the beginning of January, two of my friends and I have been preparing for the Maker Faire Ruhr at the DASA Dortmund. In the course of this, I veneered fiberboard, cut out blanks for engravings, procured tablecloths, machined PC housings, milled gear wheels, programmed LED strips, designed a stand sign, set up a CNC machine, optimized it for engraving and so on…
As the deadline approached, things got tight. A lot of time and coordination goes into preparing for a trade faire like this.
Projects
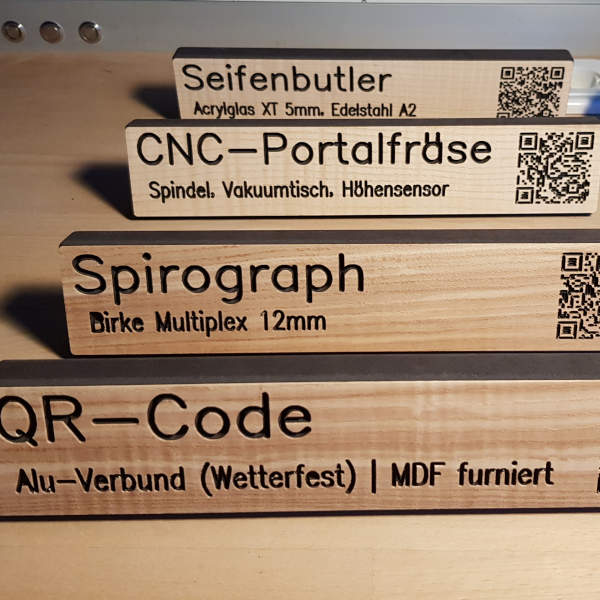
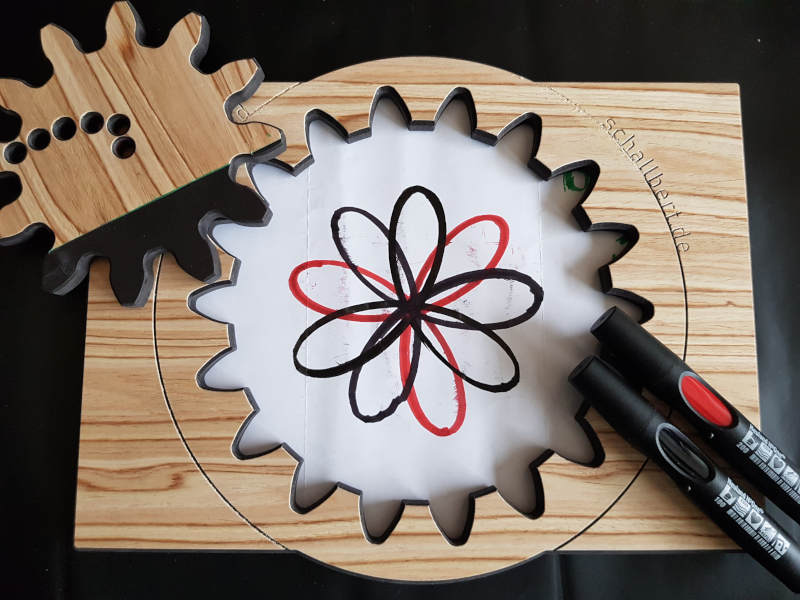
At the faire I wanted to present some of my most beautiful projects such as Seifenbutler, my oversized spirographs and allow visitors to have their own signs engraved, even with QR code if required.
To make the milling work quicker, I made blanks that only had to be engraved later. I also had to make the spirographs in advance because of the double-sided machining required.
Machines
I was able to convince a few companies to lend me machines and parts for the faire:
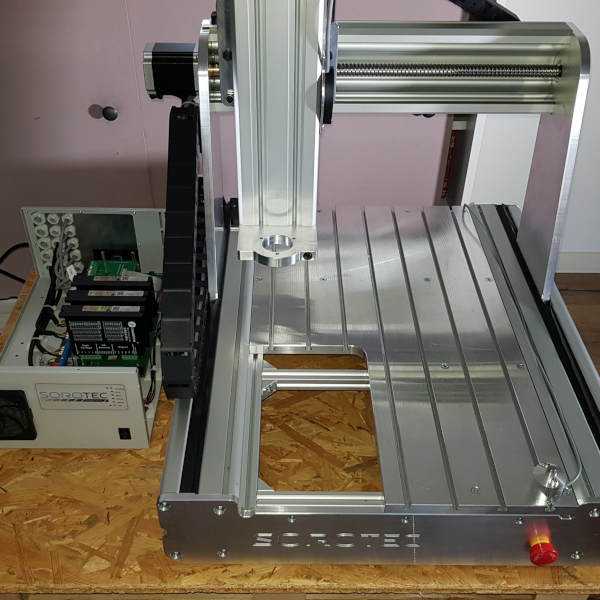
 From Sorotec I borrowed a “Hobbyline4530”, their smallest and lightest machine.
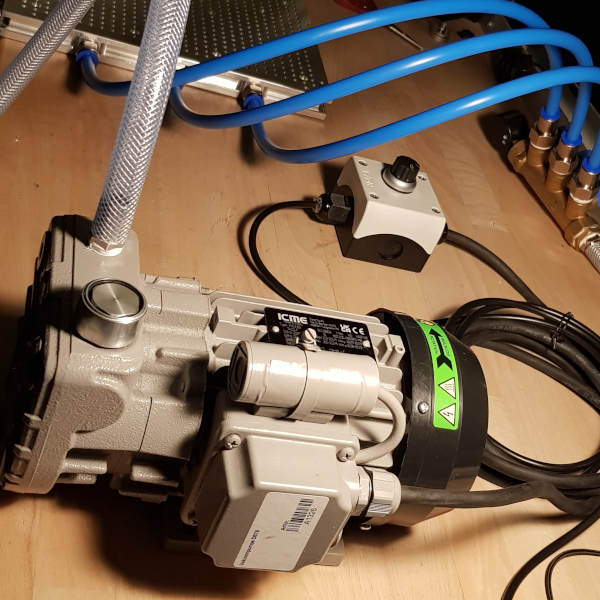
 The company Stritzelberger provided me with a vacuum table that matches the machine, including a suitable pump.
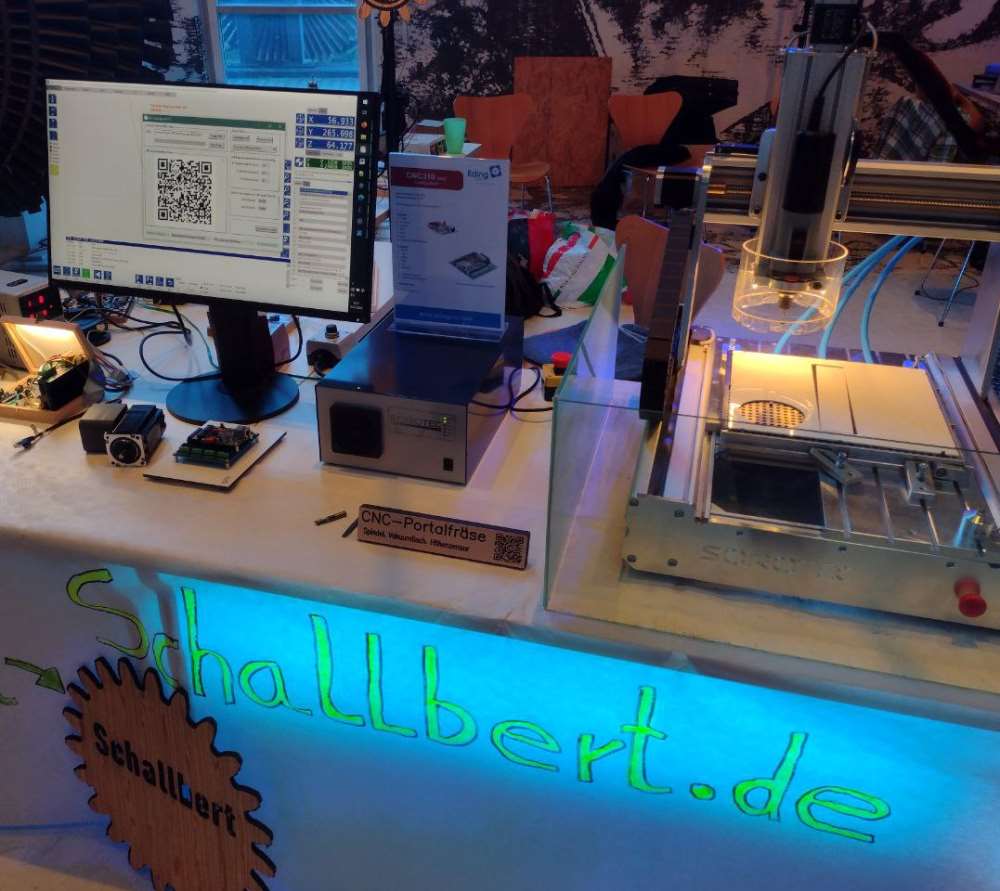
 EdingCNC supported me in setting up their software, lent me exhibitors for the latest control hardware and finally even came by my stand live for an exchange.
The stand sign
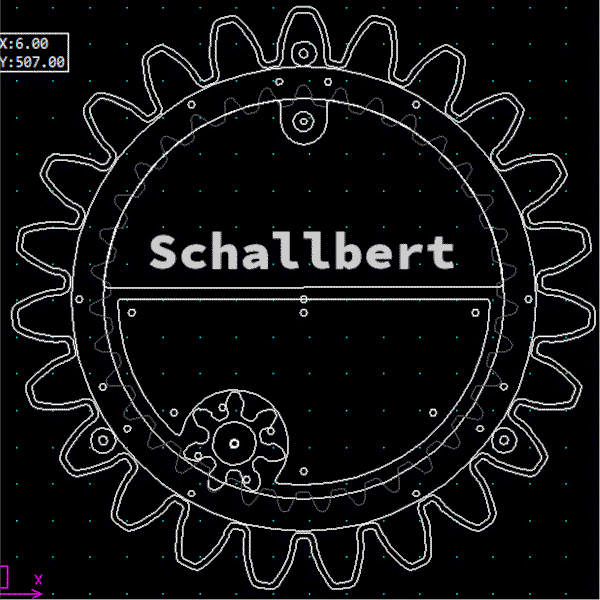 I came up with something very special for the stand sign: a planetary gear! Three moving gears revolve around a fixed sun wheel. In order to be able to suspend the stand shield and keep the gear without edges, a centered axle for the planetary carriers was out of the question.
This task is performed by a ring gear concealed by the sun gear and held by three ball bearings (image: arranged at a 120° angle, mounted on the teeth of the sun gear). It is driven by a stepper motor with a reduction ratio of 1:5. The ring gear has mounts for the planet carriers. This frees up the middle section of the sun wheel, where I can fit the drive motor, lighting and shield mounts.
A video on my PeerTube channel shows how I built the stand sign using my CNC.
Making of Standschild (Maker Faire Ruhr)
Delays
As always with such major undertakings, a few things went wrong during the preparations:
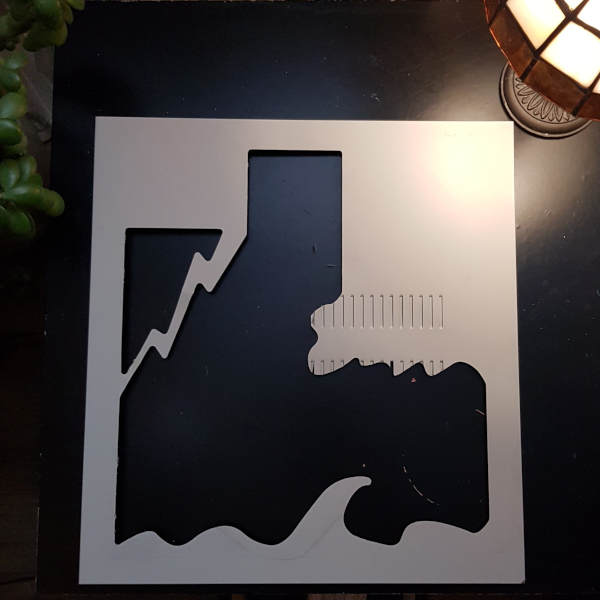
Detachment of the vacuum during the production of the spirographs
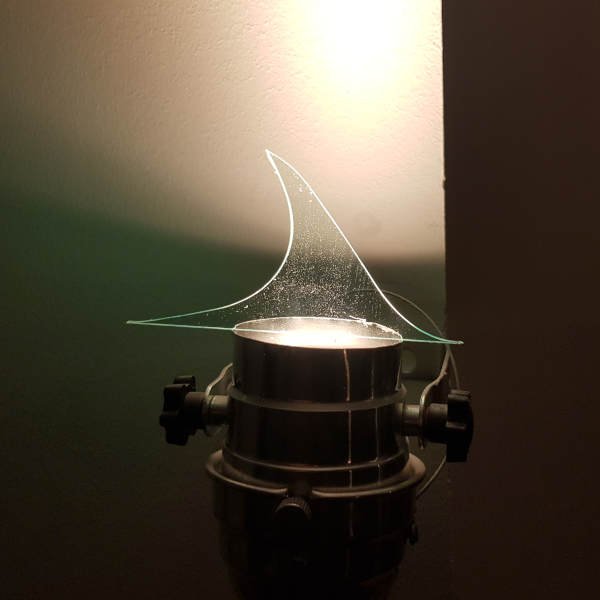
I wanted to make the spirographs from veneered MDF, as the material is very attractive to look at and at the same time stable enough not to be damaged by rough handling. So I covered 10mm thick medium density fiberboard with olive wood veneer (time consuming!) and then routed it on my portal router.
As I use a vacuum clamping system, it is key to achieve a certain vacuum level. Otherwise the workpieces won’t stay in place. MDF is permeable to air, so the pump has a lot to do even when the panel has not yet been processed. Unfortunately, the geometry of my design for the spirographs is such that the surface remaining for clamping continues to decrease considerably during machining.
In the end, I had the problem that the gears wanted to turn at the latest when machining the edges of the back. Even my desperate attempts to maintain sufficient negative pressure by applying large amounts of cling film to the workpiece failed.
So instead of the planned ten spirographs, I only received four - the rest were rejects. Note: MDF can only be used on my vacuum clamping system for large workpieces.
Problematic gear pairing on the spirograph
Unfortunately, the first spirograph made of MDF was not really usable: one tooth was constantly jammed on the flank of the ring gear and refused to mesh. The reason for this was that I had not provided any backlash and had manufactured the tooth heads without a radius.
As a result, the gear wheel must always be pressed firmly against the ring gear to enable the next tooth engagement. If the gear wheel slips out just a few tenths of a millimeter, it locks. Remedy: Provide both gear and ring gear tooth heads with r=3.0mm and design the gear pairing with backlash of a=0.25mm.
Incorrectly engraved lettering on the large stand plate
I made two mistakes here and unfortunately produced a lot of rejects. On the first attempt, I had overlooked to mirror the gear wheel for the rear machining. I thought this wasn’t necessary because the gear itself is mirror-symmetrical. Unfortunately, however, the retaining pins were not embedded with mirror symmetry, so that the back was not aligned with the front.
On the second attempt - see video above - I had fixed this, but forgot to adjust the zero point according to the new centering pin position on the back. Fortunately, I noticed this during processing and was able to correct it.
Retro-PC window production
On one of the three retro PCs, I placed the back of the housing on the machine bed rotated by 180°. The window was therefore milled “upside down”, which I only noticed after finishing the milling job. Fortunately, my friend was able to file and bend the latches so that the back of the housing could also be attached to the PC “upside down”.
During the production of the last window, the chip guard got caught in the workpiece’s splay and broke because I couldn’t get the machine to stop in time. This could only happen because the chip guard became loose due to the vibrations during machining. Note: The milling machine is not a toy. So don’t make any compromises or use half-baked makeshift solutions!
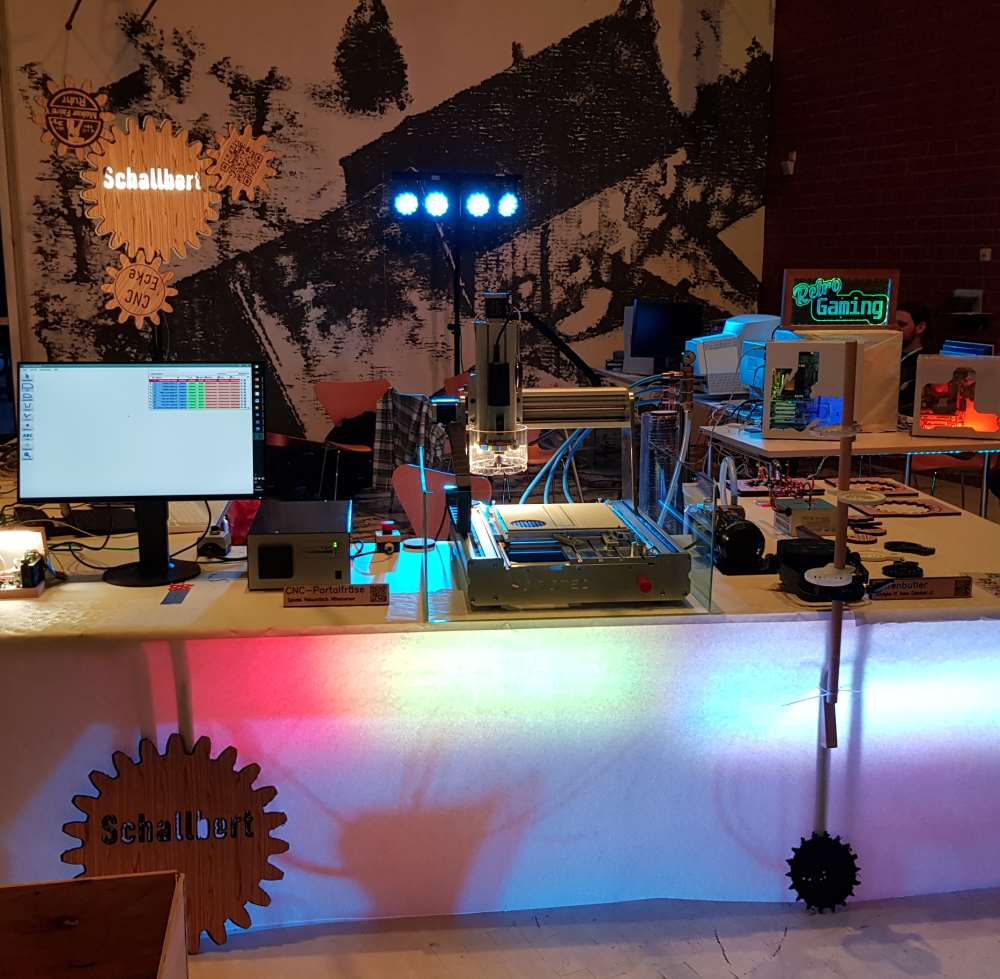
The Maker Faire Ruhr 2024
The fair itself was great. I received a very friendly welcome and DASA gave me excellent support with unloading and all other logistics. The stand assigned to me was also great: very large, well located, with plenty of power sockets - what more could you want?
I had a company visit my stand, family and friends came and even some people from the CNC forums and a few colleagues from work came to see me. I couldn’t have wished for more.
Set-up
Fortunately, we had a forklift to help us unload.
Unloading the CNC
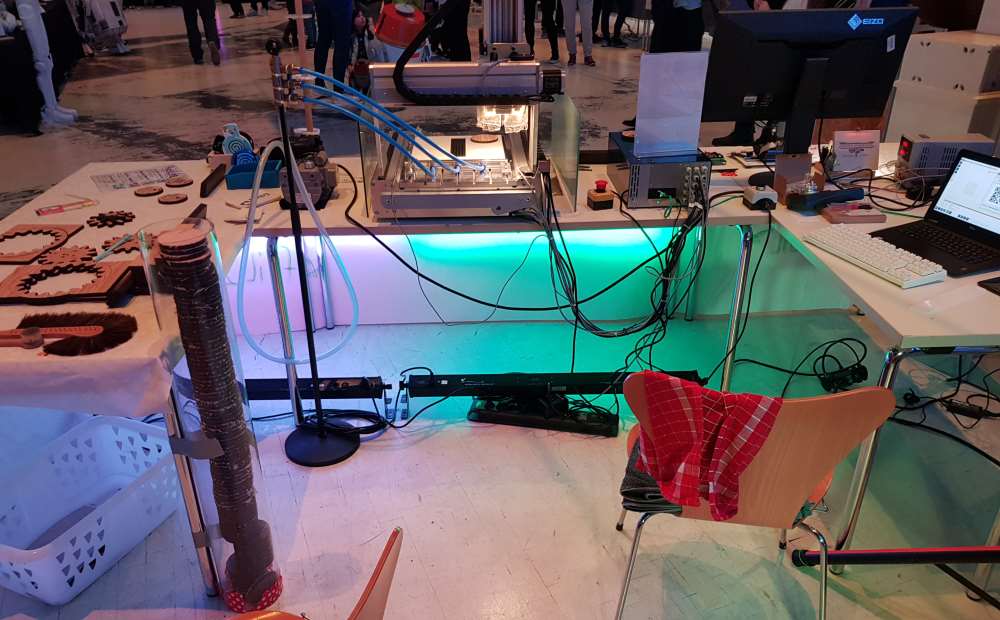
Everything else was manual work and not much different from setting up for a music concert: Moving tables, laying power cables, installing the lighting system, setting up exhibits.
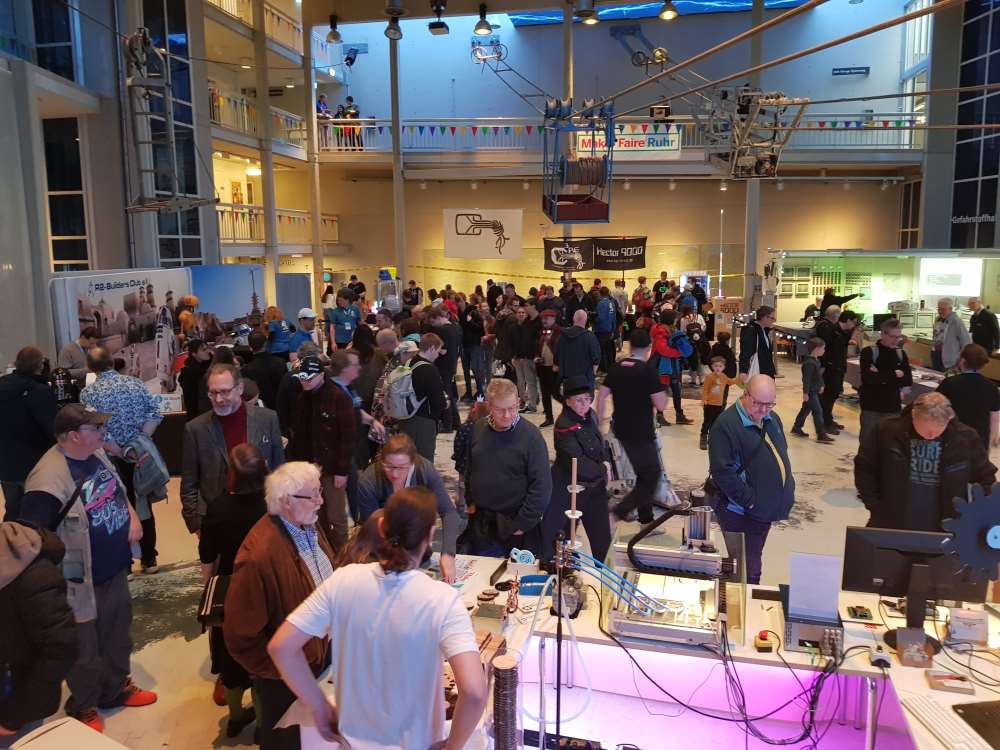
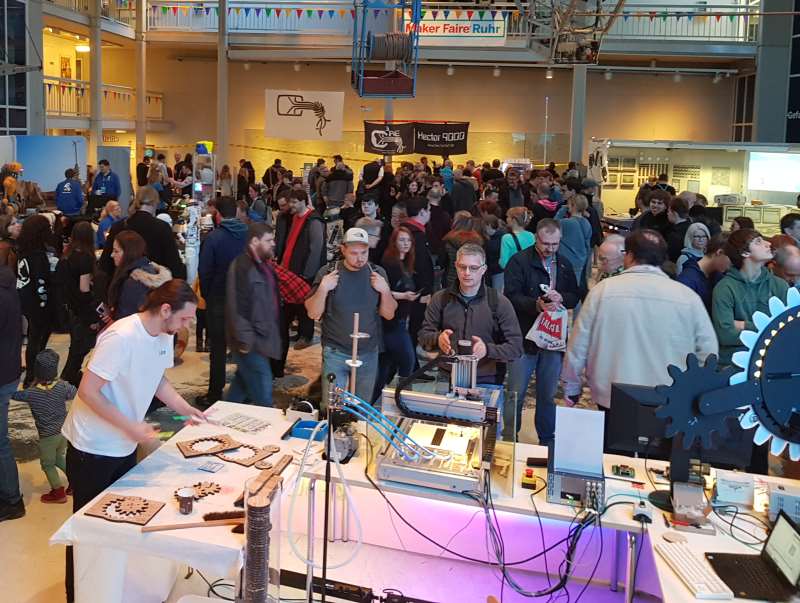
Visitors
I can draw a positive balance for my first Maker Faire: There were really a lot of people at our stand and I hardly had a few minutes to rest - there was always something to talk about, to present my projects or to talk about the machine on display. But that was exactly what attracted us to this format. What’s more, the technology worked, the machine ran smoothly and all the things I had prepared so long in advance (such as the stand sign) could be exhibited or shown in operation.
QR-Codengrave Demonstration
What I would still do differently next time
- The Maker Faire is not a sales fair in terms of setup, but a huge show & tell. That’s why I wouldn’t book a paid sales stand again, because in my case it wasn’t worth it.
- One or two more people to look after the stand would be great. Then we could take turns.
- More material for the spirographs! All of the pens we brought were broken by the end of the event and had run out of paper by the middle of the second day.
- More presentations / demos. The milling machine was often running, but there was a lack of templates and requests from the visitors. Next time I will take more of my own designs with me and produce them for demo purposes even without a request.
- Prepare better links to the website, because a QR code alone doesn’t help everyone.
- More coffee: The supply of hot drinks (and now that I write it, food too) was undersized and unfortunately not as tasty as I would have liked. So it’s better to make own sandwiches and bring own thermos flasks.