Estlcam: Negative Carves
Contents
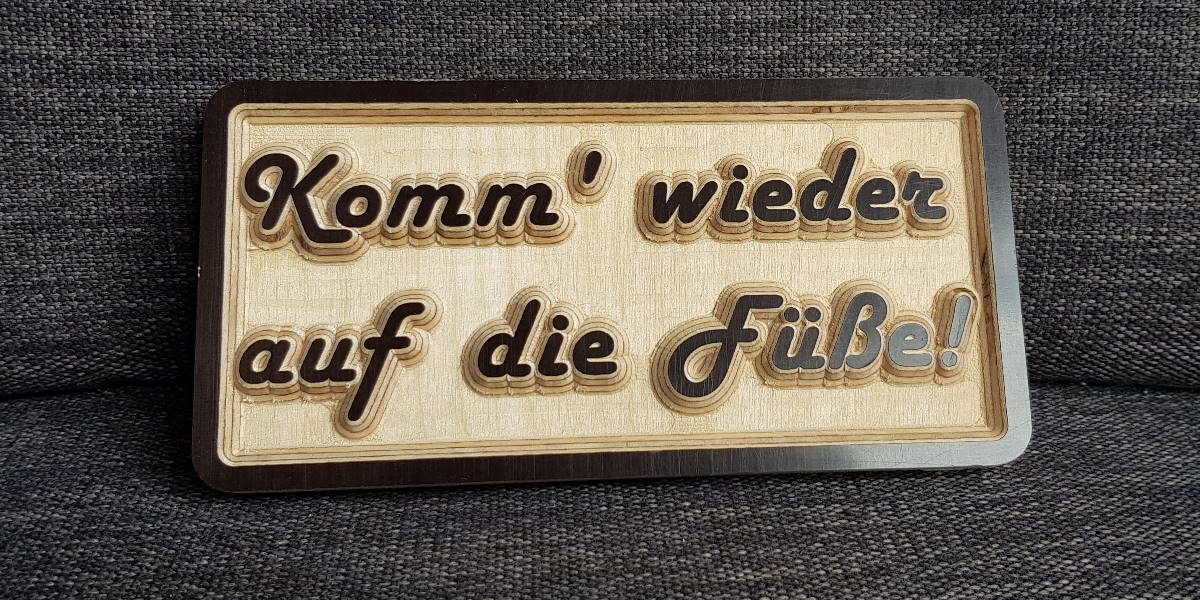
I planned to have a wooden sign carved for a colleague of mine. But I wanted it to be inverted, i.e. the letters should stand from of the background. As there are multiple ways to accomplish that in Estlcam (a Computer Aided Machining tool) but not all are quick or easy to find, I’ll post a quick step-by-step guide here.
1. Import your frame#
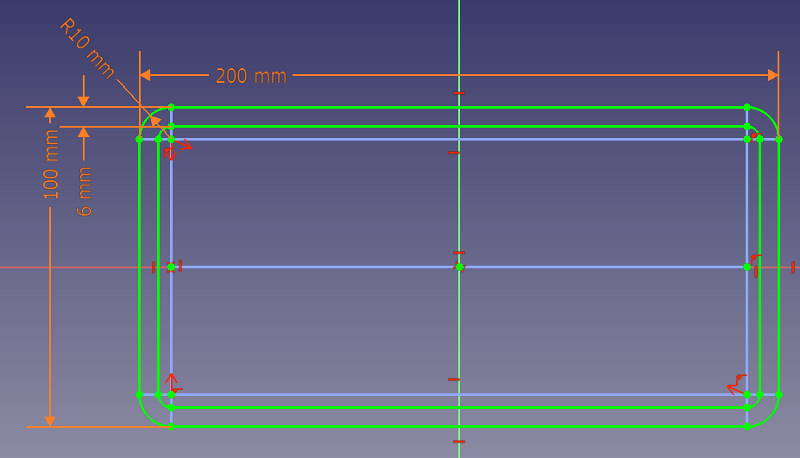
Open a drawing, e.g. a DXF of the frame of your sign. I designed one with rounded corners and an outer border in CAD before. If you’re carving in wood, make sure that your carve depth is not higher than the width of your frame - otherwise the frame might not have enough stability.
2. Design your text#
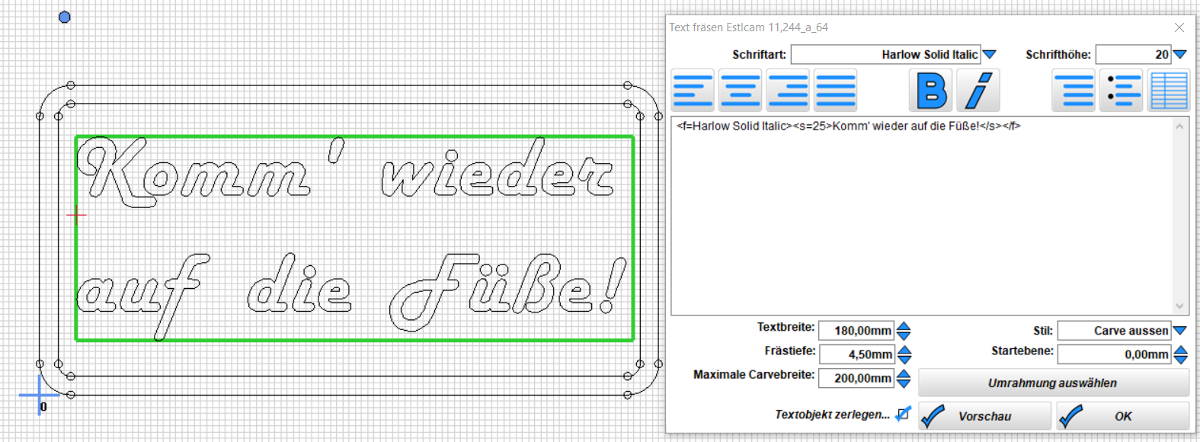
Add the text you want the sign to “wear”. Update the text field width so it fits your sign. Then select the text in your text field and choose a font. Finally, choose a text height. Depending on the cutter you’re planning to use, select the carve depth. Cutters with sharper angles may have deeper carves than e.g. the classic 90° V-cutter. For my 12mm sheet, I chose a carve depth of 4.5mm. Then specify a maximum carve width (how big the “valleys” in your sign should be). I wanted a flat valley, so I entered a large value here. Last but not least, press the select frame button to choose have the limits of your carve defined as the inner bound of your frame.
Leave the window open, please.
3. Tool selection#
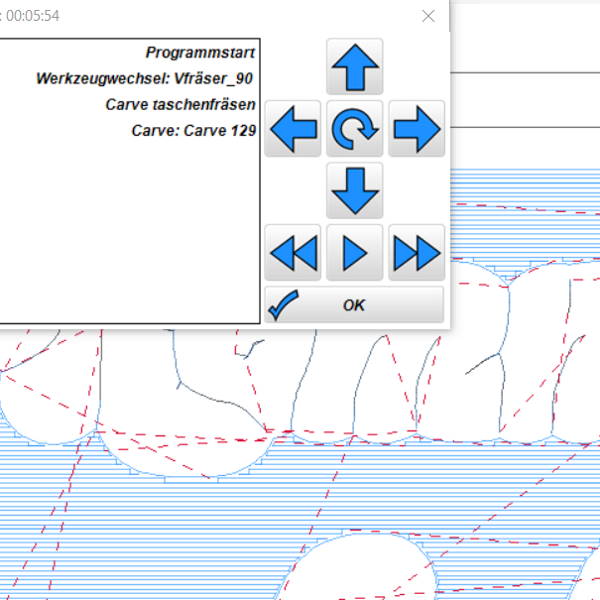
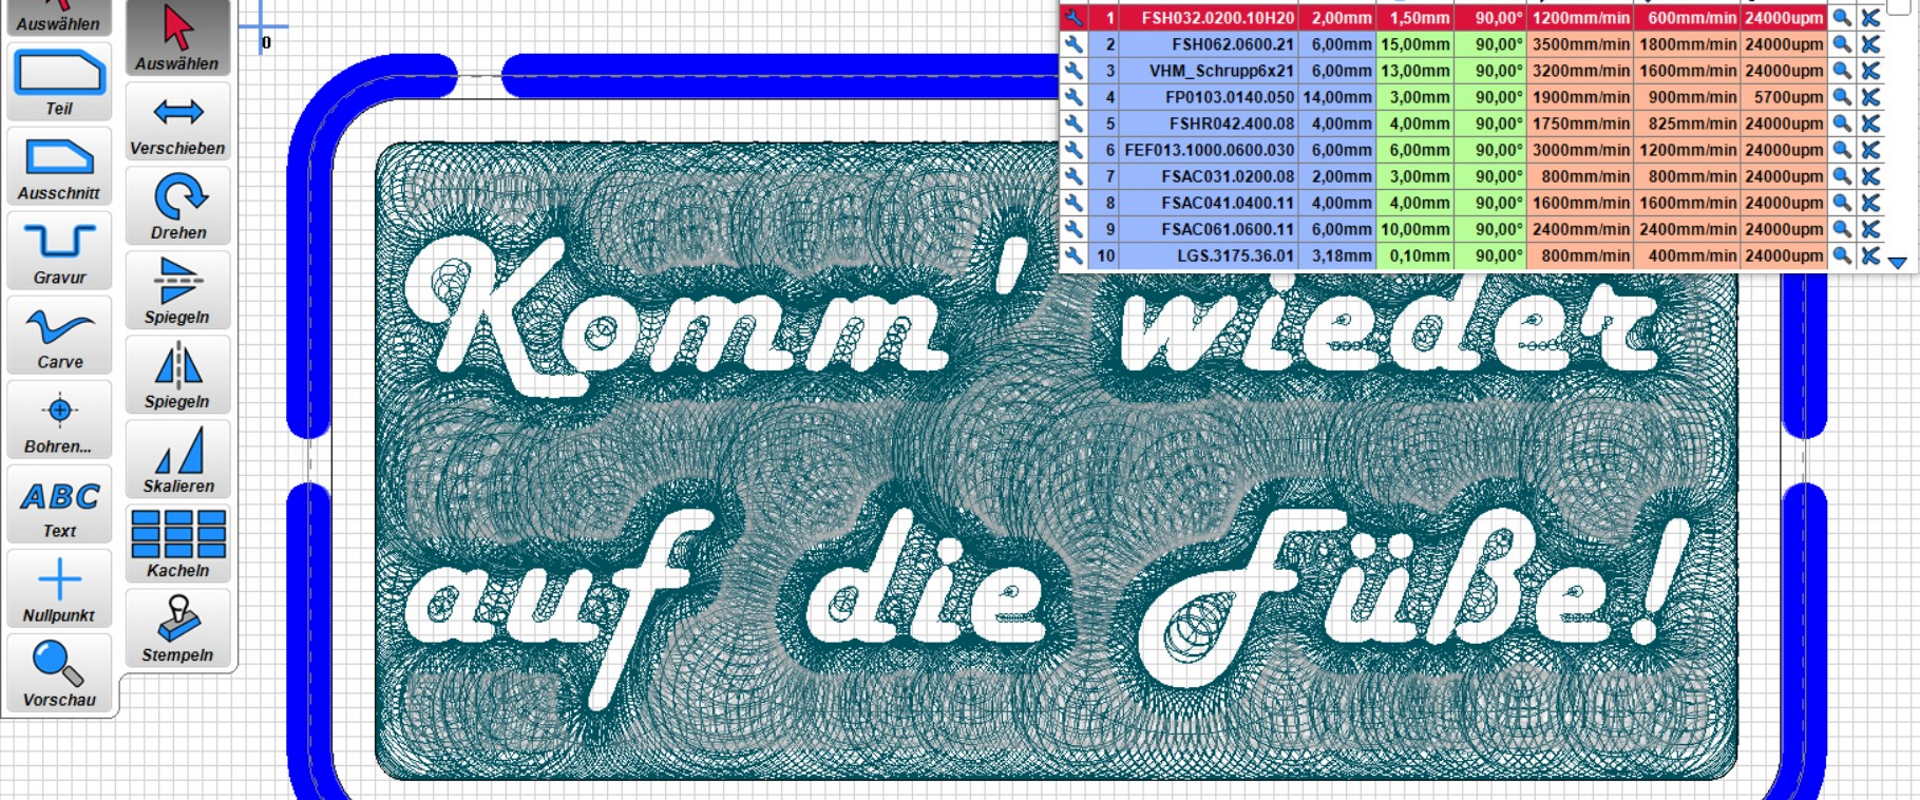
disassemble Text object checkbox yet so you can still make adjustments. Click OK to close the window. Hit Preview to get a feeling for how the carve will look like. See the parallel lines, sitting tightly together? This reflects the parameter clearing feed of the cutter in the details view of the tool table. Make sure that it’s at or below 5% for a not too coarse result.Anyways, you will not get optimal results yet because there’s just one tool for the whole job although the “valleys” would much better be cut with a standard cutter that has a flat face.
4. Clearing#
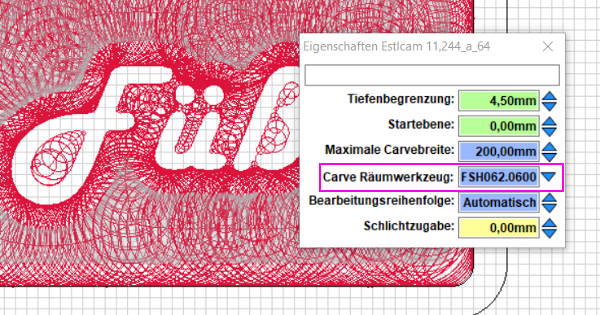
disassemble Text object. After pressing OK again, click the toolpath. You’ll now see the tool config for the carve. Add a clearing tool. Ideally, its diameter is smaller than the distance between letters and frame so you can keep the valley’s surface as smooth as possible (Note: I didn’t do that so there are some residual rough spots on my example workpiece). Maybe, also reduce clearing feed of that cutter for this job so the surface quality will become even better - values of 20-40% return very good results.5. Preview Number two#
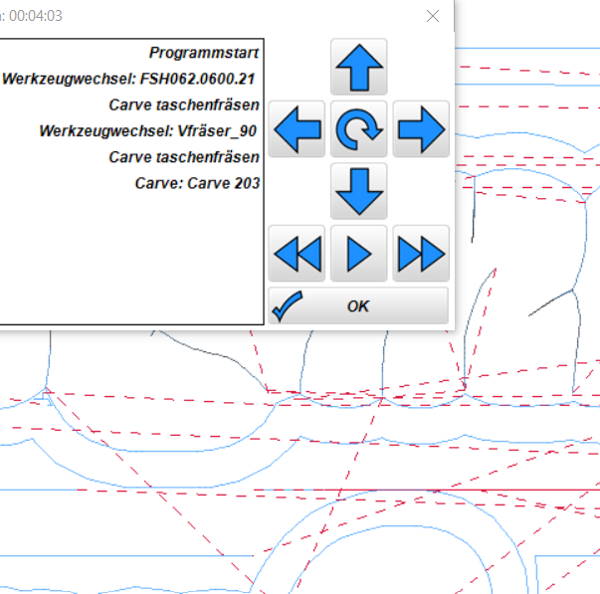
Settings, reduce the safety height of your cutter to a minimum while making sure you don’t crash into clamps. Don’t worry if your sign is not legible anymore in the preview. That’s normal as it just represents the tool paths.Re-check your feeds and speeds for the tools you’ll be using. When your carves are not very deep, there’s probably headroom for increased values here.
6. Hit the CNC#
Export the g-code file from Estlcam and have your CNC build your inverse carve sign. I hope you’re happy with the results!